Installation guide

SolarLink SMA

SolarLink
Installation

Installation in 5 steps

1

Check the inverters' NetID

  • All inverters in the plant must have the same NetID, from 2 to F (the inverter's Bluetooth switch).
  • With NetID 1 (factory default), only one inverter is read. With 0, Bluetooth is off.
  • Change the NetID only with the inverter disconnected from DC and AC.
2

Position the device

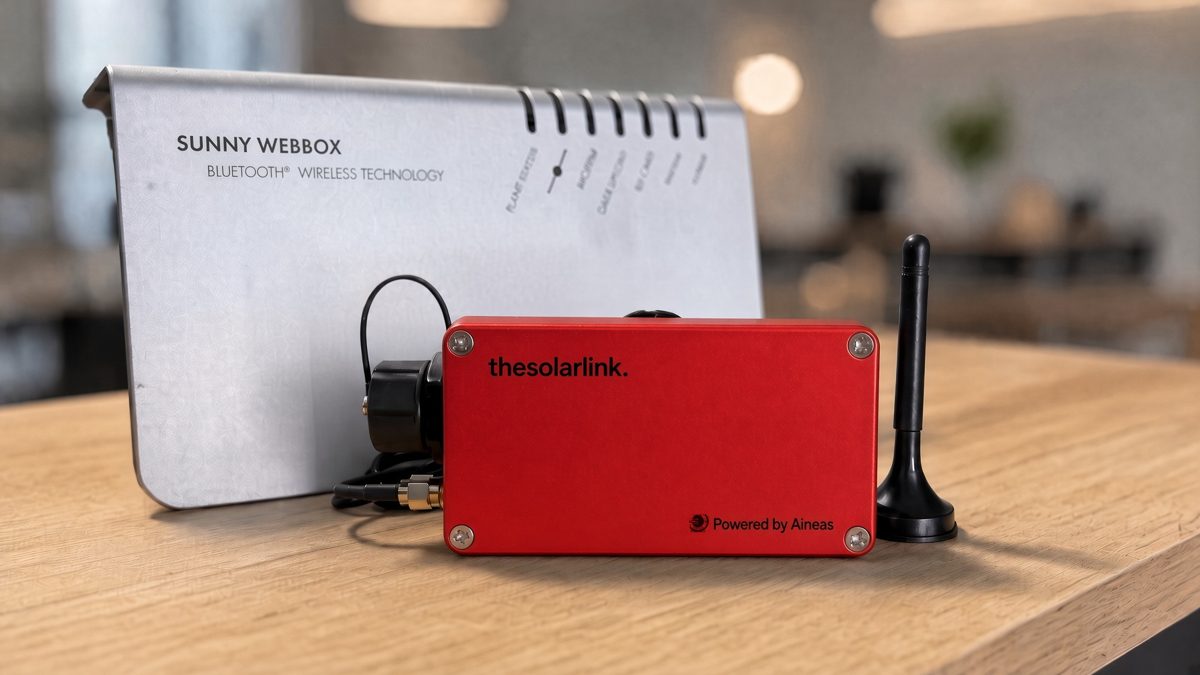
  • As close to the inverters as possible, with the antenna screwed on and unobstructed.
  • Not inside a metal cabinet.
SolarLink
3

Connect the Ethernet

  • Connect an Ethernet cable (not included) to the device's RJ45 port and to the router.
4

Power on

  • Connect a 12 V DC power supply (not included) — last, once the Ethernet is connected.
5

Register the device and enter the inverters' password

  • On thesolarportal: first the registration, then the inverters' Installer password.
Register

Register on thesolarportal

1

Enter the portal

  • Open thesolarportal.com and sign in with your account.
2

Open your plant

  • From the “Plants” menu, choose the plant. If it doesn't exist, click “New plant”.
3

Add the SolarLink

  • Click “Add inverter / SolarLink” and choose “Add SolarLink”.
  • Enter the serial number from the label, e.g. SL-B-0012, and click “Sign in”.
4

Enter the registration code

  • Enter the code from the label (Registration code) and click “Sign in” again.
5

Done

  • The inverters appear automatically with the first reading.
Serial number Registration code
If it says “already registered to another plant”, first remove the device from the other plant.
Inverter password

The inverters' Installer password

1

Find the Installer password

  • You need the inverters' Installer password — not the User password.
  • If it has never been changed, it is 1111.
  • If the plant is registered on Sunny Portal, it is the plant password set there.
2

Enter it in the portal

  • On the plant page, click “Codes” next to the SolarLink device (SMA-GW-…).
  • Leave NetID set to “Any (recommended)”.
  • Enter the Installer password in the first field and click “Save”.
3

Wait 10–15 minutes

  • During the day, with the inverters running. The inverters appear in the plant with the first reading.
If something doesn't appear

If “Inverters need a password” appears

  • On the plant page, a yellow triangle and “Inverters need a password” appear next to the SolarLink device. Click it: the list of inverters that can't be read opens.
  • “Wrong password” on all of them: the common password is wrong. Correct it in the first field.
  • “Wrong password” on one or two: these have a different password. Enter their password or PUK on their row and click “Send”.
  • “No response yet”: wait about 10 minutes, during the day.
  • Inverter not shown anywhere: check its NetID, its distance from the device, and that the device is not in a metal cabinet. Up to 24 inverters per device.
  • If you later change the inverters' Installer password, change it in the portal too.
PUK

PUK from SMA

1

Go to the SMA Online Service Center

2

Request a PUK

  • Menu: Self Help → PUK – Personal Unblocking Key.
  • Level: Installer.
  • Serial number: the inverter's, as shown on its row in the portal.
  • The PUK appears immediately.
3

Give the device the PUK

  • On the plant page, click “Inverters need a password”.
  • Enter the PUK on the inverter's row and click “Send”.
  • The PUK stays saved for this inverter.
Remove

Removing or moving the device

1

Open the plant

  • In the portal, open the plant where the device is registered.
2

Click “Remove”

  • In the SolarLink device box at the top of the plant page, click “Remove”.
3

Choose the inverters

  • Tick which inverters leave the plant together with the device (“All” or “None”).
  • Confirm with “Remove”.
4

Disconnect the device

  • Cut the device's power first, then unplug the Ethernet cable.
SolarLink TCP

SL-T label: SolarLink TCP

1

Enable Modbus TCP on the inverters

  • ennexOS: log in as Installer, select the inverter and go to Configuration → External communication → Modbus server. Enable Modbus TCP on port 502.
  • Webconnect: enable the Modbus TCP server from Sunny Explorer or the inverter's web page.
  • Give the inverters a static IP address, or a DHCP address reservation in the router.
2

Connect the device to the same network

  • Ethernet cable to the same router or switch as the inverters.
  • Power on and register the device as described above.
  • If an inverter doesn't appear, add it by its IP address from the device's local page.

Help

Something not working? Call us.

Thessaloniki Workshop

MON–FRI: 9:00–17:00 (EET)