Installation guide

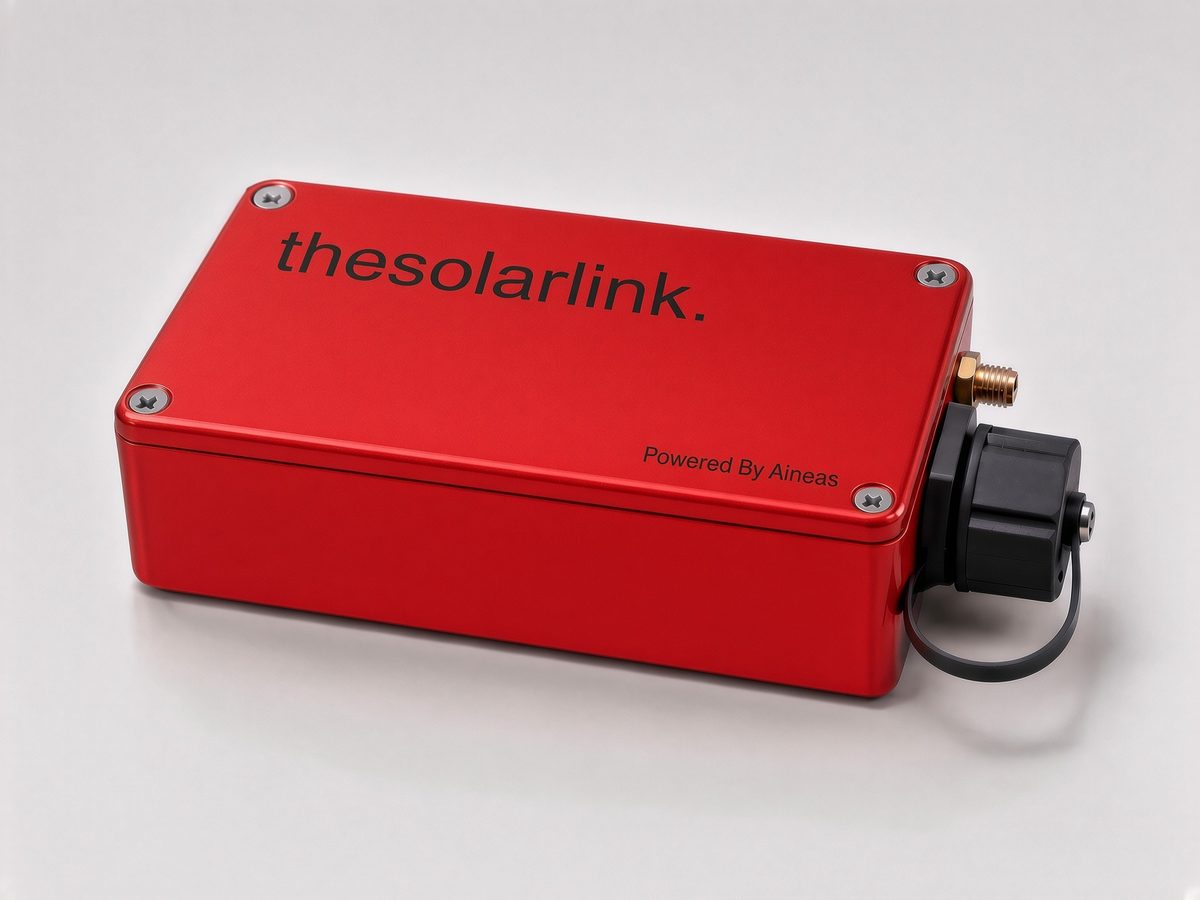
SolarLink ABB / FIMER / Power-One

SolarLink
Installation

Installation in 5 steps

1

Connect the RS-485

  • Connect A to A and B to B.
  • If there are already A-B wires from an old Power-One system, connect them to the device's A and B terminals.
  • Disconnect the old datalogger: the SolarLink device must be the only device on the RS-485.
SolarLink Inverter A B A B
2

Check the inverters

  • Baud rate 19200.
  • Address from 2 to 63 — different on each inverter.
3

Connect the network

  • The device supports Ethernet and WiFi: use whichever you prefer.
  • Connect an Ethernet cable (not included) to the device's RJ45 port and to the router.
  • No Ethernet cable: set up WiFi (WiFi ↓).
4

Power on

  • Connect the power supply that comes with the device — last, once RS-485 and network are connected.
Antenna: if you will use WiFi, the antenna is mandatory — without it the device's WiFi can be damaged. Always screw it on before powering up: the device also turns on WiFi by itself when the internet connection is lost.
5

Register the device

  • On thesolarportal, with the serial number and code from the label.
WiFi

WiFi setup (without Ethernet cable)

Antenna: if you will use WiFi, the antenna is mandatory — without it the device's WiFi can be damaged. Always screw it on before powering up: the device also turns on WiFi by itself when the internet connection is lost.
1

Connect to the device's WiFi

  • From your phone, connect to the WiFi network Aineas-ABB-XXXXXX.
  • WiFi password: 2310607032
2

Give the device your WiFi

  • The settings page opens automatically. If it doesn't, enter 192.168.4.1 in your browser.
  • Choose your WiFi from the list, enter its password and save.
  • 2.4 GHz networks only: 5 GHz and hidden networks are not shown.
Register

Register on thesolarportal

1

Enter the portal

  • Open thesolarportal.com and sign in with your account.
2

Open your plant

  • From the “Plants” menu, choose the plant. If it doesn't exist, click “New plant”.
3

Add the SolarLink

  • Click “Add inverter / SolarLink” and choose “Add SolarLink”.
  • Enter the serial number from the label, e.g. SL-A-0012, and click “Sign in”.
4

Enter the registration code

  • Enter the code from the label (Registration code) and click “Sign in” again.
5

Done

  • The inverters appear automatically with the first reading.
Serial number Registration code
If it says “already registered to another plant”, first remove the device from the other plant.
Remove

Removing or moving the device

1

Open the plant

  • In the portal, open the plant where the device is registered.
2

Click “Remove”

  • In the SolarLink device box at the top of the plant page, click “Remove”.
3

Choose the inverters

  • Tick which inverters leave the plant together with the device (“All” or “None”).
  • Confirm with “Remove”.
4

Disconnect the device

  • Cut the device's power first, then unplug the RS-485 and network cables.
LED

What the white LED means

The first version of the device has no LED.
Steady onAll good.
Slow blinking (once per second)No inverter is responding. This is normal at night; during the day, check the RS-485 and the inverter settings.
Double blinkNo internet. Check the router.
Fast blinking (twice per second)No network connection. Check the Ethernet cable or set up WiFi.
Very fast blinkingStarting up or updating software. Wait and don't cut the power.
OffThe device has no power.
Help

Something not working? Call us.

Thessaloniki Workshop

MON–FRI: 9:00–17:00 (EET)