Installation guide

SolarLink KOSTAL PIKO

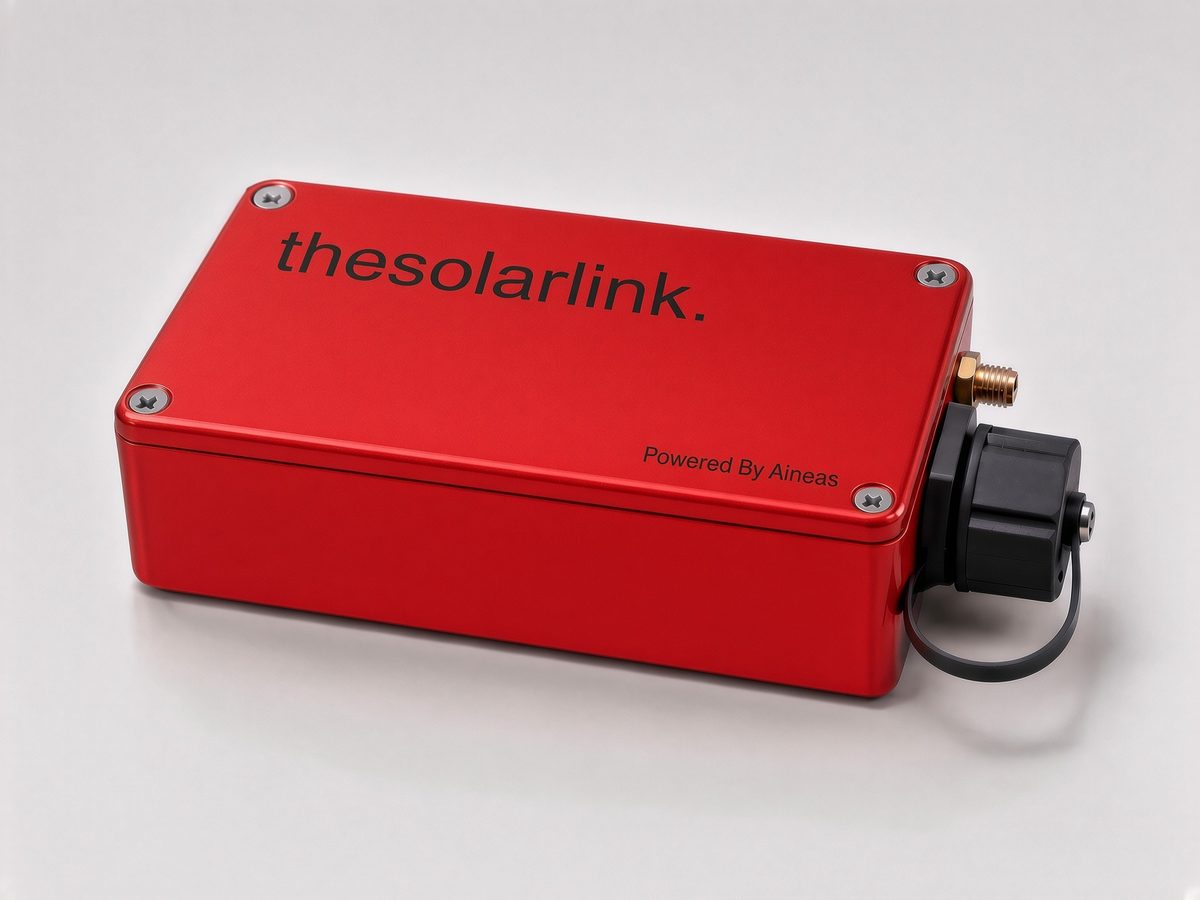
SolarLink
Installation

Installation in 5 steps

1

Connect the RS-485 — crossed

  • Connect the device's A to the inverter's B, and the device's B to the inverter's A.
  • One device per inverter.
SolarLink KOSTAL PIKO A B A B
2

Check the inverter

  • RS-485 at 19200 baud, with address 255.
3

Connect the Ethernet

  • Connect an Ethernet cable (not included) to the device's RJ45 port and to the router.
4

Power on

  • Connect a 12 V DC power supply (not included) — last, once RS-485 and network are connected.
5

Register the device

  • On thesolarportal, with the serial number and code from the label.
Register

Register on thesolarportal

1

Enter the portal

  • Open thesolarportal.com and sign in with your account.
2

Open your plant

  • From the “Plants” menu, choose the plant. If it doesn't exist, click “New plant”.
3

Add the SolarLink

  • Click “Add inverter / SolarLink” and choose “Add SolarLink”.
  • Enter the serial number from the label, e.g. SL-K-0012, and click “Sign in”.
4

Enter the registration code

  • Enter the code from the label (Registration code) and click “Sign in” again.
5

Done

  • The inverters appear automatically with the first reading.
Serial number Registration code
If it says “already registered to another plant”, first remove the device from the other plant.
Remove

Removing or moving the device

1

Open the plant

  • In the portal, open the plant where the device is registered.
2

Click “Remove”

  • In the SolarLink device box at the top of the plant page, click “Remove”.
3

Choose the inverters

  • Tick which inverters leave the plant together with the device (“All” or “None”).
  • Confirm with “Remove”.
4

Disconnect the device

  • Cut the device's power first, then unplug the RS-485 and network cables.

Help

Something not working? Call us.

Thessaloniki Workshop

MON–FRI: 9:00–17:00 (EET)